Registering at erphome.pl takes about 5 minutes and consists of three steps: filling in the form, configuring your apartment and verifying your email. After that you have a ready-to-use booking page and full access to the panel — with a 14-day free trial (21 days if you sign up via a referral link).
Step 1 — Fill in the registration form
Go to erphome.pl/rejestracja or click the "14 days free →" button in the top menu. If you have a referral link from a friend, open that link — the registration form will tag your account and automatically add a 7-day bonus.
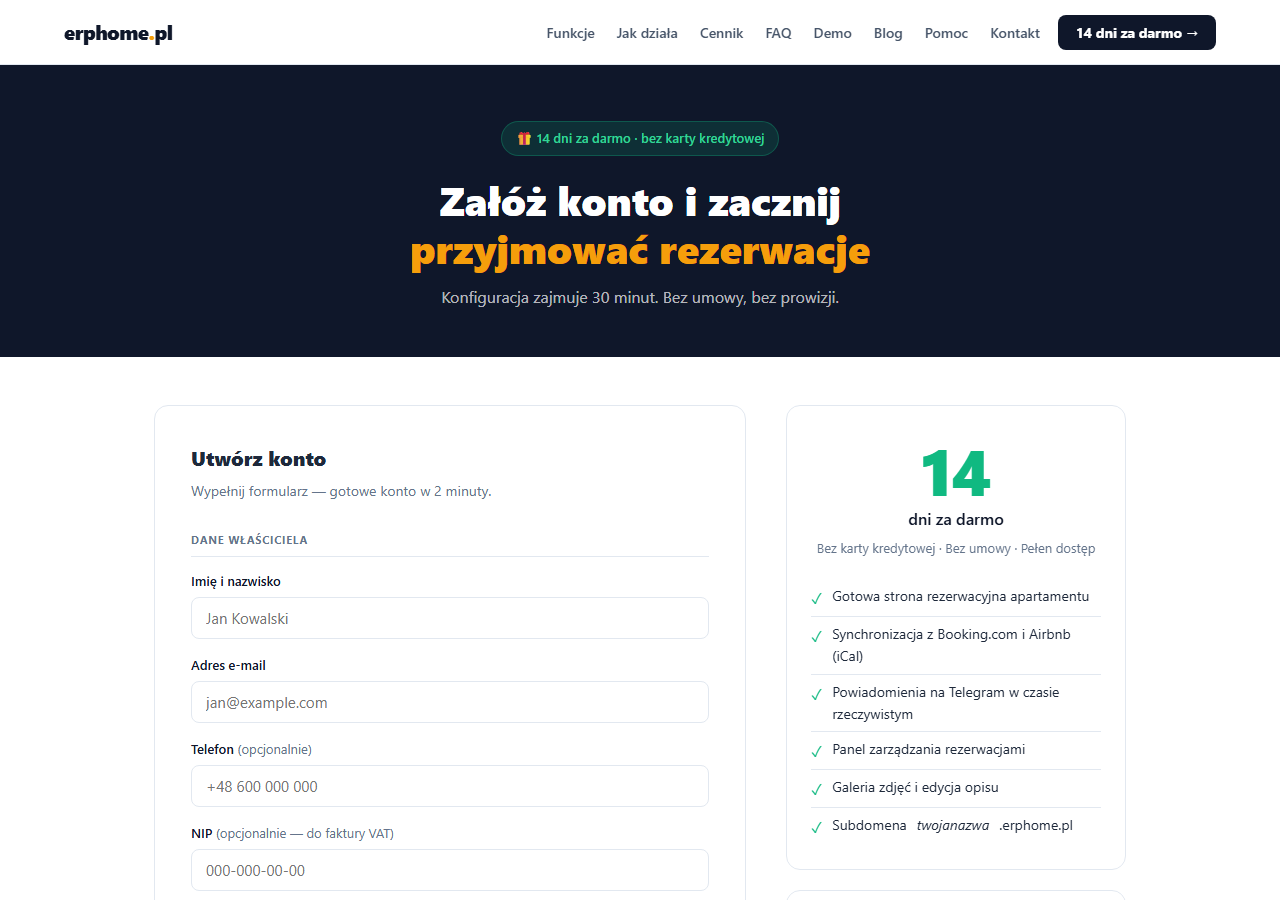
Fill in the form fields:
- Full name — the account owner's name (visible only in the panel, not to guests).
- Email address — this will be your panel login and the address for booking notifications.
- Phone — optional, useful for account recovery.
- Tax ID (NIP) — enter it if you want to receive VAT invoices for your business. After typing 10 digits, a "Fetch from GUS" button appears that automatically fills in your company's address details.
- Password — at least 8 characters. Use a strong password.
Tick the acceptance of the Terms of Service and Privacy Policy, then click "Create account — 14 days free →".
No credit card required. You can test the platform completely free for 14 days, and decide afterwards whether you want to continue.
Instead of the form you can also click "Sign up with Google" or "Sign up with Microsoft" — your email address is filled in automatically and the email confirmation step is skipped. Details: Google sign-in and Microsoft sign-in.
Step 2 — Confirm your email address
After the form is submitted successfully you will see a confirmation screen:
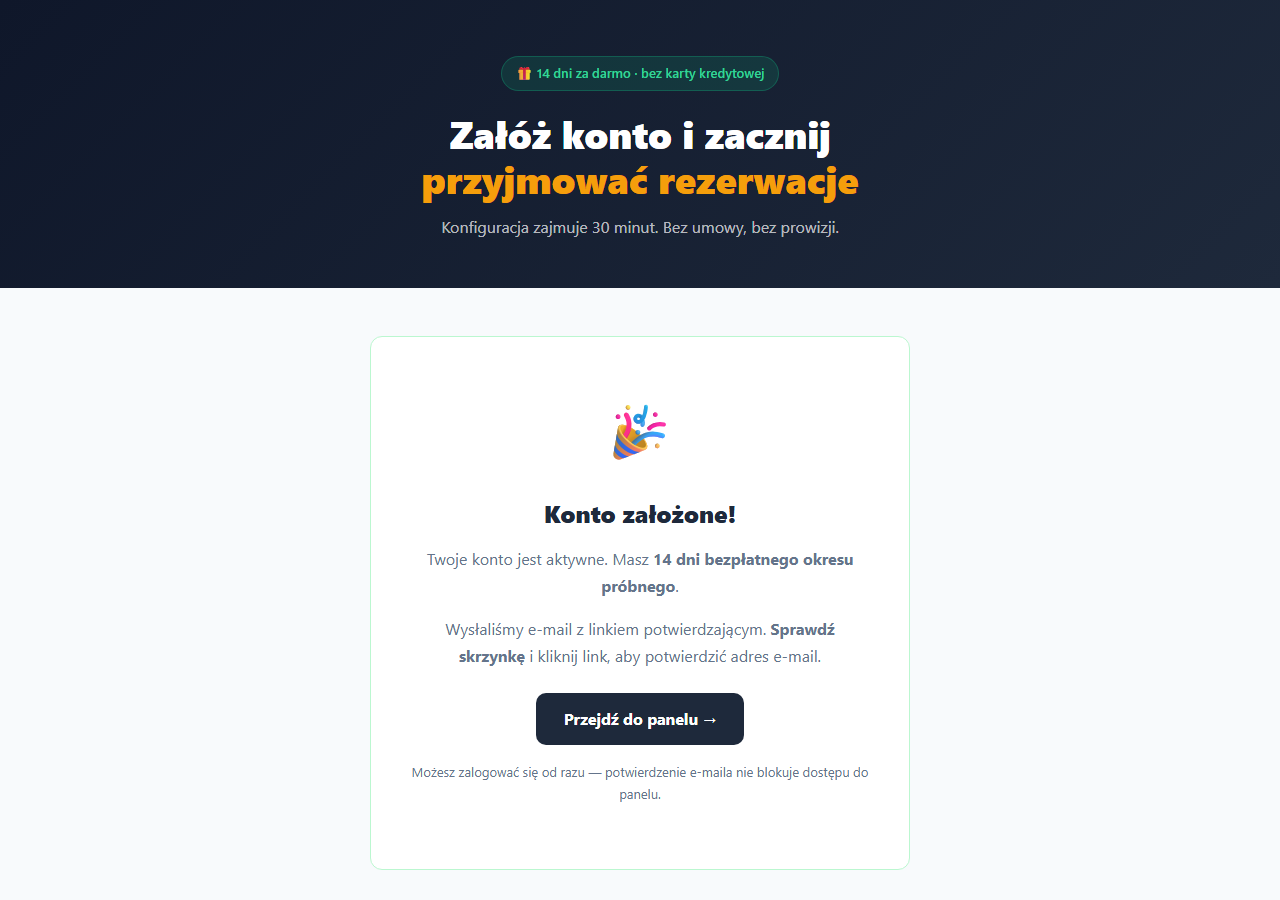
Check your inbox — you will receive a message with a verification link. Click the link to confirm your email address. The link is valid for 48 hours.
Note: Without a confirmed address you cannot use the panel — after signing in you will see the "Confirm your email address" screen instead of the dashboard. The exception is accounts created with Google or with Microsoft — their address is verified immediately.
If the message did not arrive, click "Resend link" on the lock screen (also check your SPAM folder). And if you entered the wrong address during registration, expand "Entered the wrong address? Change email" — after entering a new address and your current password you will receive a fresh link at the correct inbox.
Click "Go to panel →" to sign in and continue onboarding.
Step 3 — Sign in to the panel
The owner panel is available at panel.erphome.pl. You can also use the link in the confirmation email.
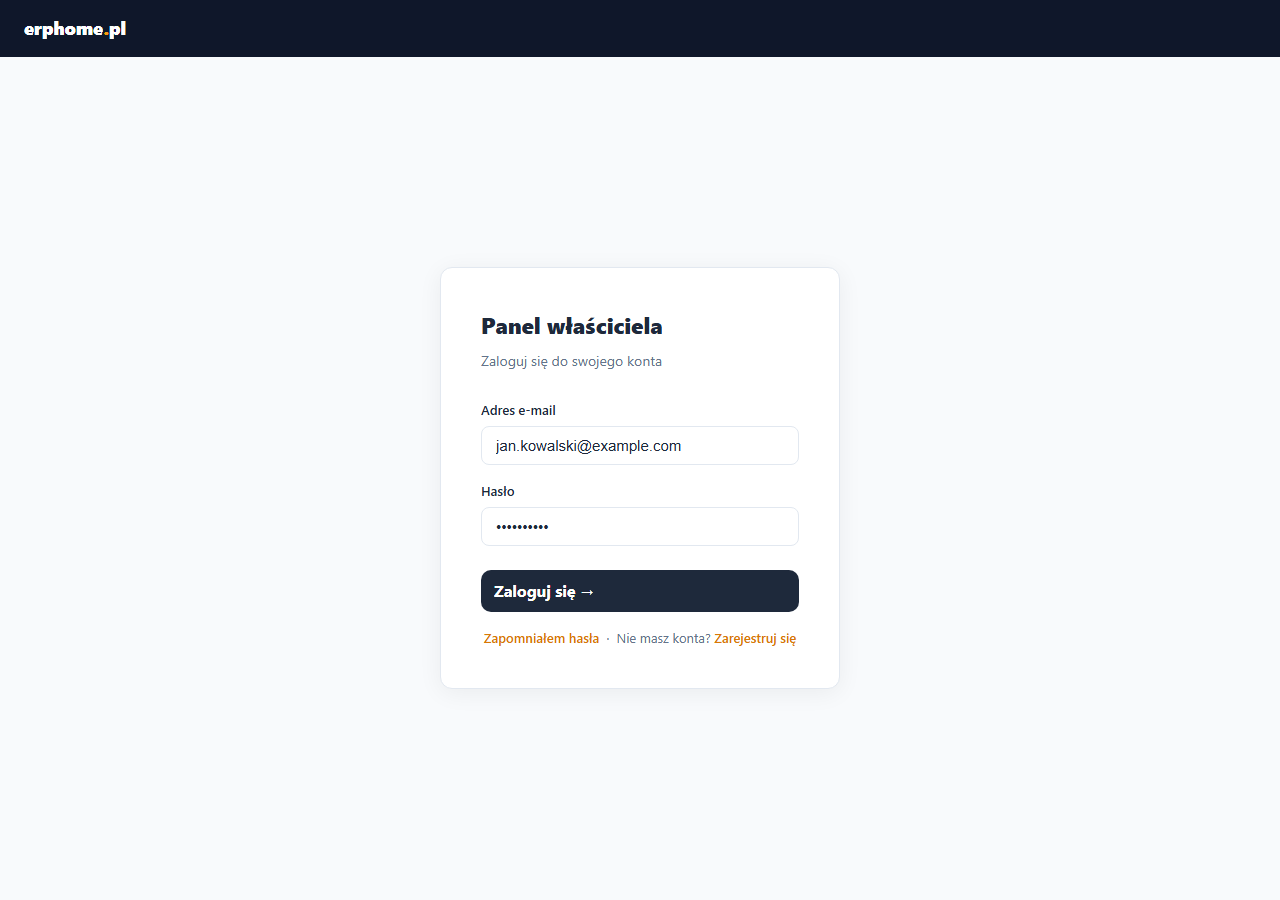
Enter the email and password you provided during registration, then click "Sign in →".
If you forget your password, use the "Forgot password" link — we will send you an email with reset instructions.
Step 4 — Configure your apartment (onboarding)
After your first sign-in the system automatically redirects you to the configuration wizard (step 2 of 3). Fill in the basic information about your apartment:
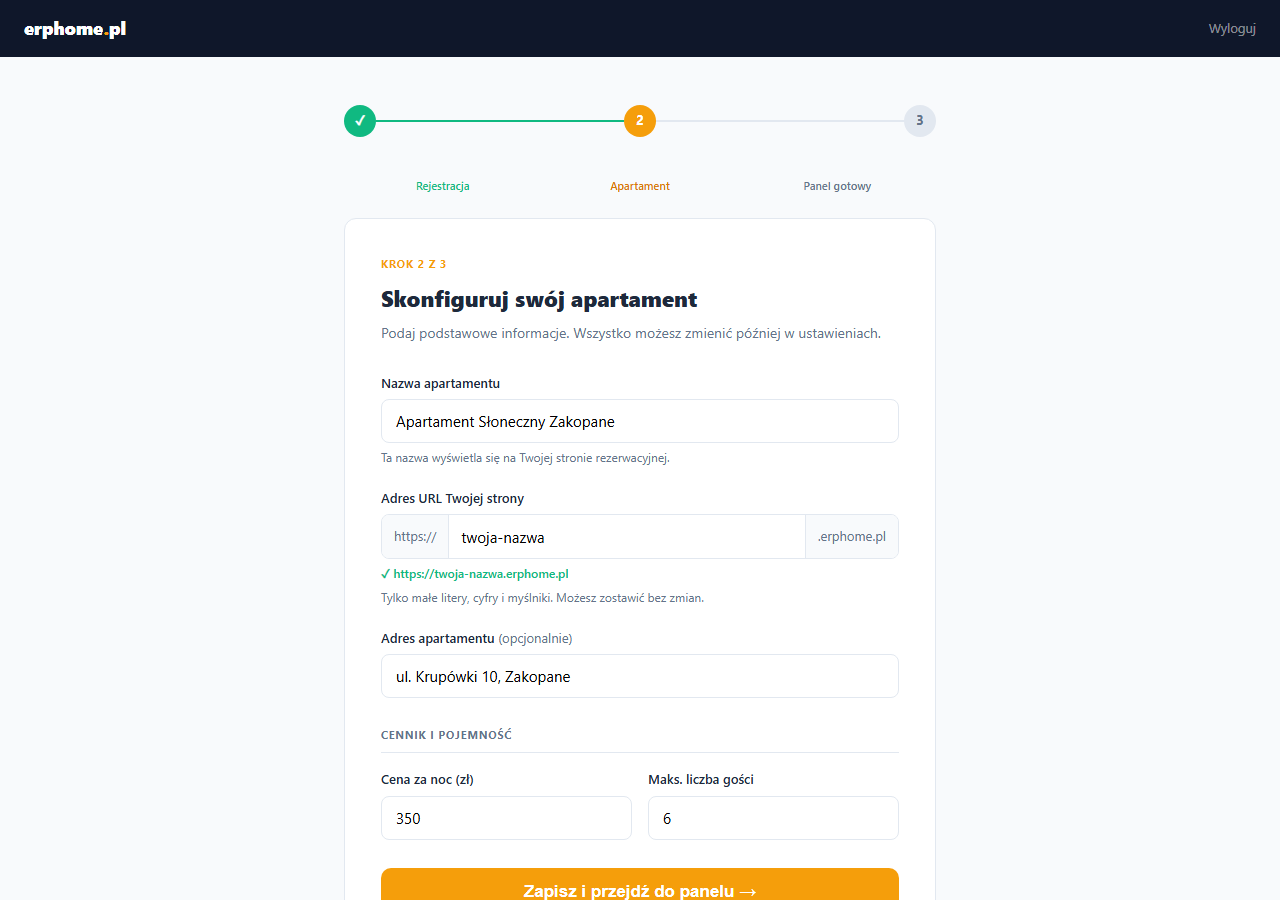
- Apartment name — e.g. Sunny Apartment Zakopane. This name appears on your booking page and in emails to guests.
- Your page URL — the system suggests an address based on your email, e.g.
your-name.erphome.pl. You can change it by entering your own identifier (lowercase letters, digits and hyphens only). - Apartment address — optional, shown on the booking page. You can fill it in later.
- Price per night — enter the base price in PLN. You can adjust it freely after onboarding — adding seasonal prices, discounts and pricing rules.
- Maximum number of guests — the booking form will limit the number of people to this value.
Click "Save and go to panel →". Onboarding is complete — your booking page is ready!
You can change all the data entered in the wizard at any time in the Settings section of the panel. Onboarding collects only the minimum needed to launch your page.
What's next after onboarding?
We recommend a few steps that will make your page fully ready for your first guests:
- Complete the description and add photos — go to Settings → Apartment and the Photos section. Good photos and a detailed description significantly increase conversion.
- Check your booking page — click "Preview page ↗" in the panel to see how it looks from a guest's perspective.
- Set up Telegram notifications — connect a Telegram bot to receive instant notifications about new bookings on your phone. Guide: How to connect your account to Telegram.
- Connect iCal calendars — if your apartment is on Booking.com or Airbnb, sync the calendars to avoid double bookings. Guide: How iCal synchronization works.
- Connect Google Calendar — new bookings appear automatically in your Google Calendar with guest details. Guide: Google Calendar — automatically adding bookings.
- Set seasonal prices — add higher prices for holiday and festive periods in the Pricing → Seasonal prices section.
Have questions? Write to us: [email protected] — we reply within 24 hours.
Related articles: Panel overview — what you'll find where · Signing in and registering with Google · Signing in and registering with Microsoft · Subscription plans and pricing · Refer friends — free months · How to connect your account to Telegram · Google Calendar · How iCal works